
Experience Templates
Introduction
Experience Templates allow users to control how personalization decisions are rendered on a website using reusable templates from a centralized template repository. Developers can create or edit these HTML templates independently of the sitemap, making them immediately available for users to apply when configuring experiences.
Before starting the hands-on exercises in this workshop, watch the video below to learn more about experience templates and how they’re used in Salesforce Personalization.
Enter the password LearnSPtoday to play the video.
Create a Hero Banner Web Experience Template
Feature Coming Soon
This exercise references product functionality that is in the process of being released. Skip this exercise for now. Pre-defined templates were included in the sitemap file you installed in your website connector to enable you to complete the subsequent exercises.
As you created personalization points in the previous workshop, you can now create the experience templates that control how the decision response is rendered on your website. In this exercise, you’ll create an experience template based on a template from the global template repository and learn how to apply it to your personalization point.
- Search and select
Personalizationfrom App Launcher. - Click on the Experience Templates tab.
- Click New.
- Select default from the Data Space menu.
- Select Web from the Channel menu.
Mobile Experience Templates
Mobile experience templates will be supported in an upcoming release.
- Enter
Hero Bannerin the Experience Template Name field.
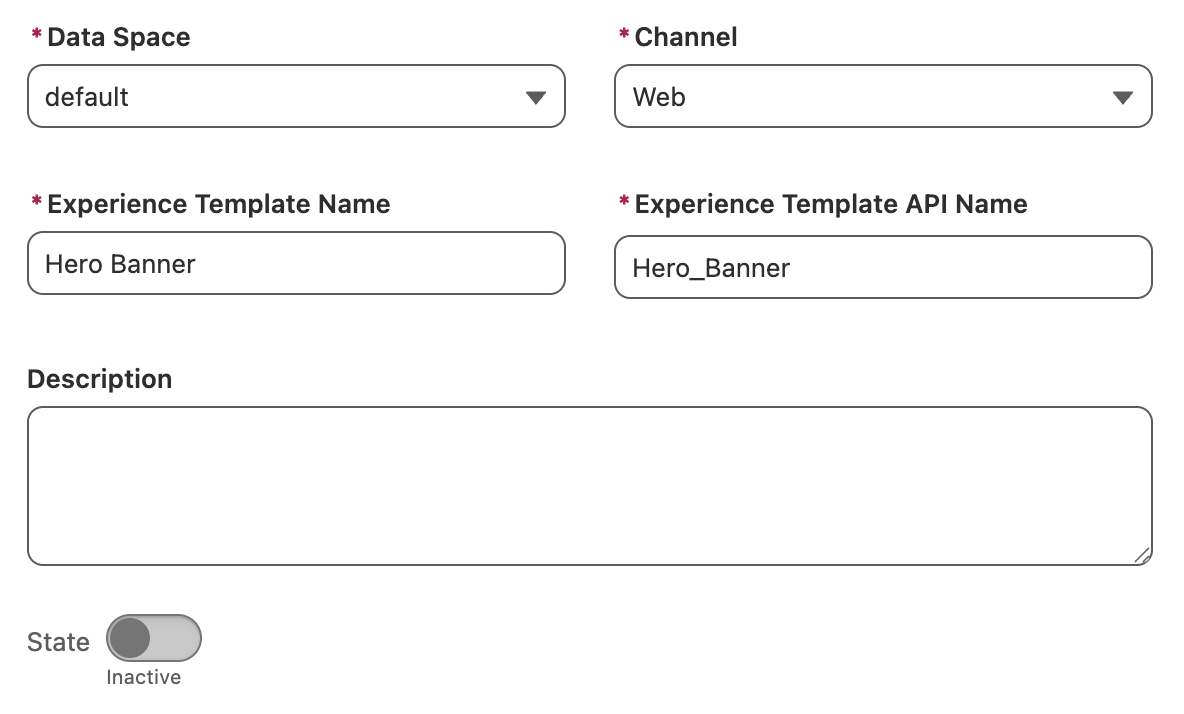
- Click Next.
Template State
Don’t worry that your template is inactive, you’ll have the opportunity to save and enable it at the end of the workflow.
- Choose the Training Site website connector from the Connected Websites list, then click Next.
Website Connectors
You can associate multiple website connectors with a single template, making it easy to reuse the same template across multiple domains.
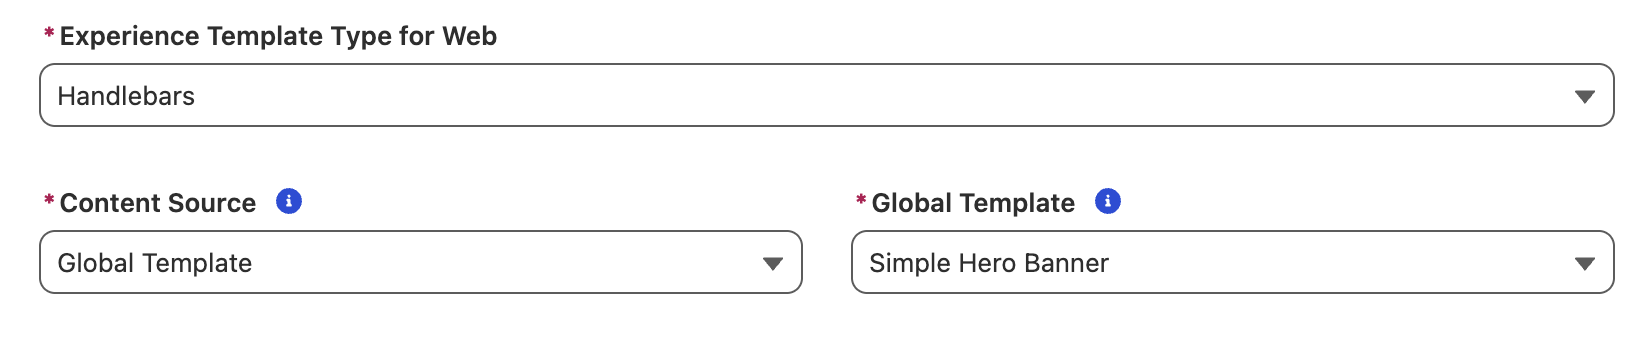
- Select Handlebars from the Experience Template Type for Web menu.
Experience Template Types
Two template types are available: Handlebars and AgentScript. Since this exercise does not involve building an agentic use case, select Handlebars.
Handlebars is a lightweight templating language that generates HTML by combining a template with values from an input data object, making it ideal for straightforward personalization scenarios.
- Select Global Template from the Content Source menu.
- Select Simple Hero Banner from the Global Template menu, then click Next.
Template Options
You can either create a template from scratch or use a global template as a starting point. For this exercise, you will use the Simple Hero Banner Global Template.
In this next step, you will map response template attributes to template variables.
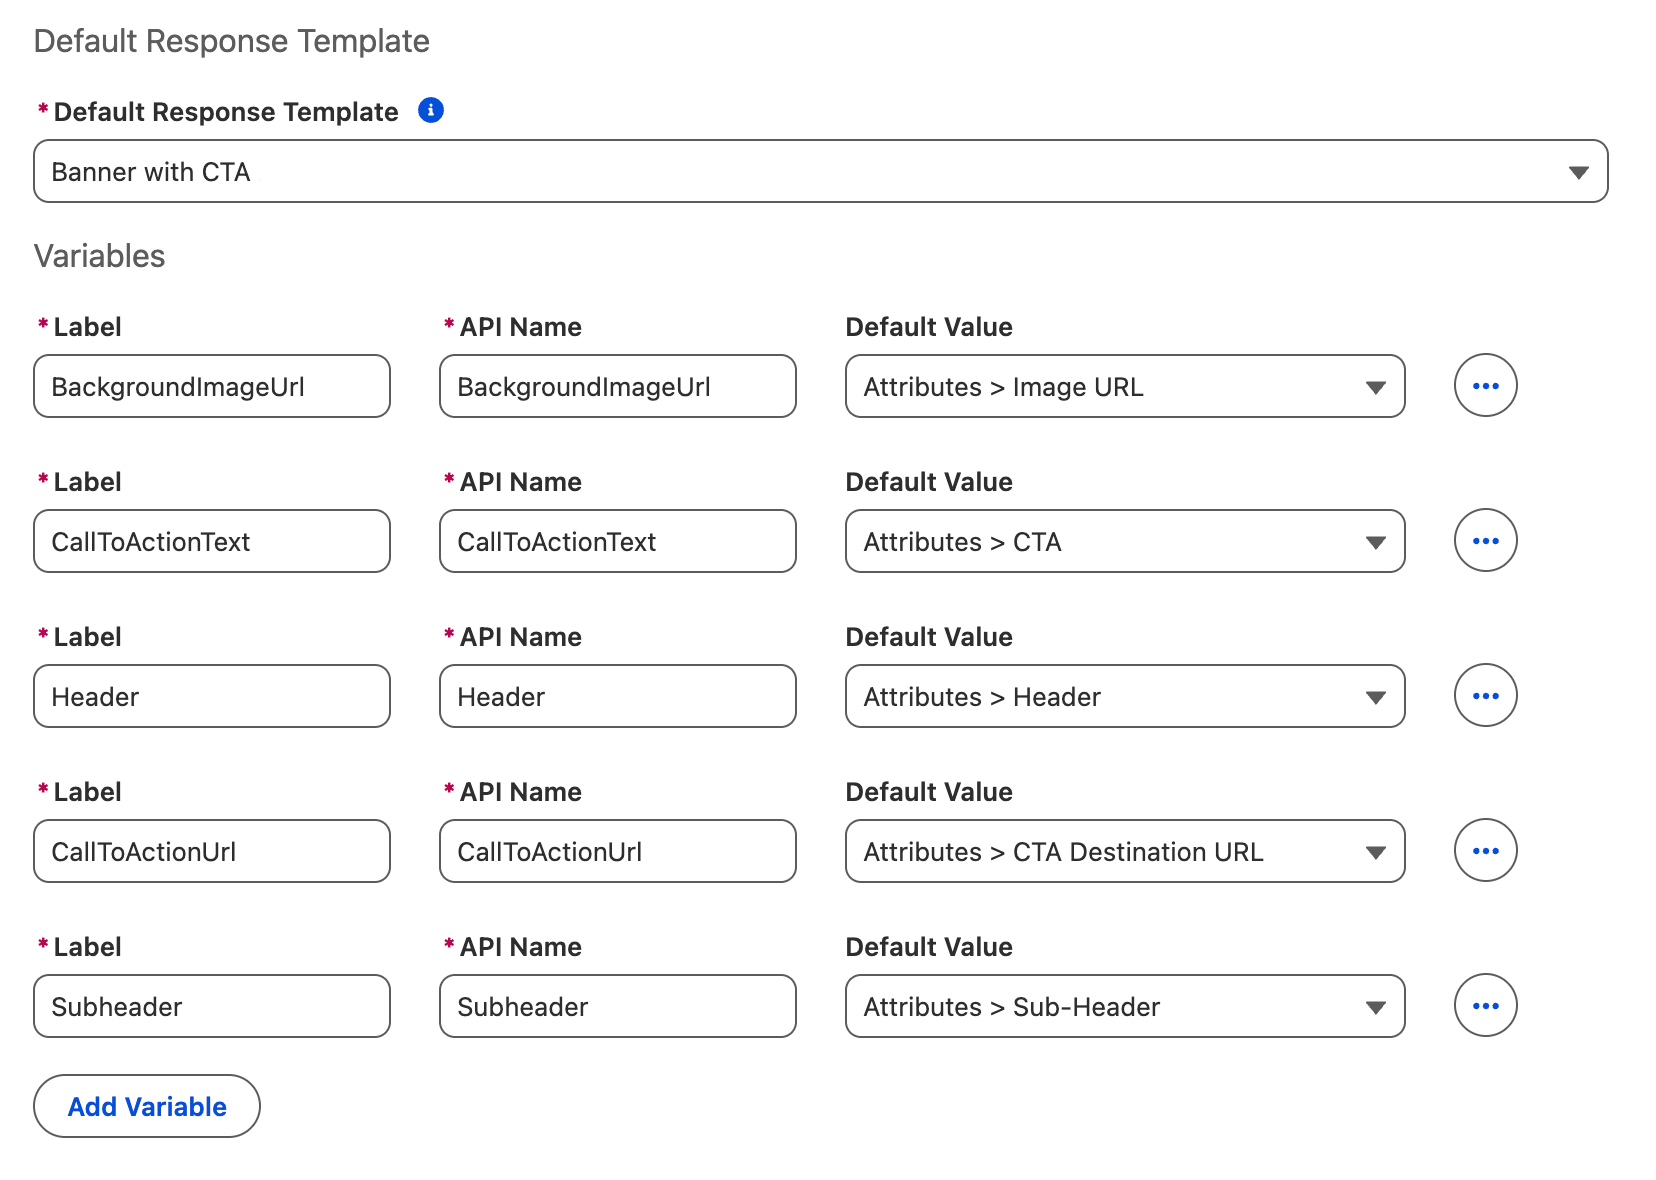
Select Banner with CTA from the Default Response Template menu.
Using the existing variable labels, select the following default values:
- BackgroundImageUrl: Attributes > Image URL
- CallToActionText: Attributes > CTA
- Header: Attributes > Header
- CallToActionUrl: Attributes > CTA Destination URL
- Subheader: Attributes > Sub-Header
Template Variables
Template variables can be referenced directly in the template HTML using Handlebars expressions, allowing values from the decision response to be dynamically rendered on the website.
- Click Next.
- Expand the code section below and copy the code snippet.
View code snippet
<style>
.sfdcep-banner {
    margin: 0px auto;
    width: 100%;
    min-height: 600px;
    display: flex;
    flex-flow: column wrap;
    justify-content: center;
    font-family: Arial, Helvetica, sans-serif;

    /* Added to center and constrain background images */
    background-position: center center !important;
    background-size: cover !important;
}

.sfdcep-banner-header {
    font-size: 32px;
    padding-bottom: 40px;
    font-weight: 600;
    color: #DDDDDD;
    text-align: center;
}

.sfdcep-banner-subheader {
    font-size: 20px;
    font-weight: 400;
    color: #DDDDDD;
    text-align: center;
    padding-bottom: 40px;
}

.sfdcep-banner-cta {
    text-align: center;
}

.sfdcep-banner-cta a {
    padding: 10px 20px;
    display: inline-block;
    background-color: #097fb3;
    border-radius: 20px;
    color: #DDDDDD;
    text-decoration: none;
    font-weight: 400;
    font-size: 18px;
}

/* Optional: Add this if you are ALSO inserting actual <img> elements via variables */
.sfdcep-banner img {
    display: block;
    margin: 0 auto;
    max-width: 100%;
    height: auto;
    object-fit: contain;
}
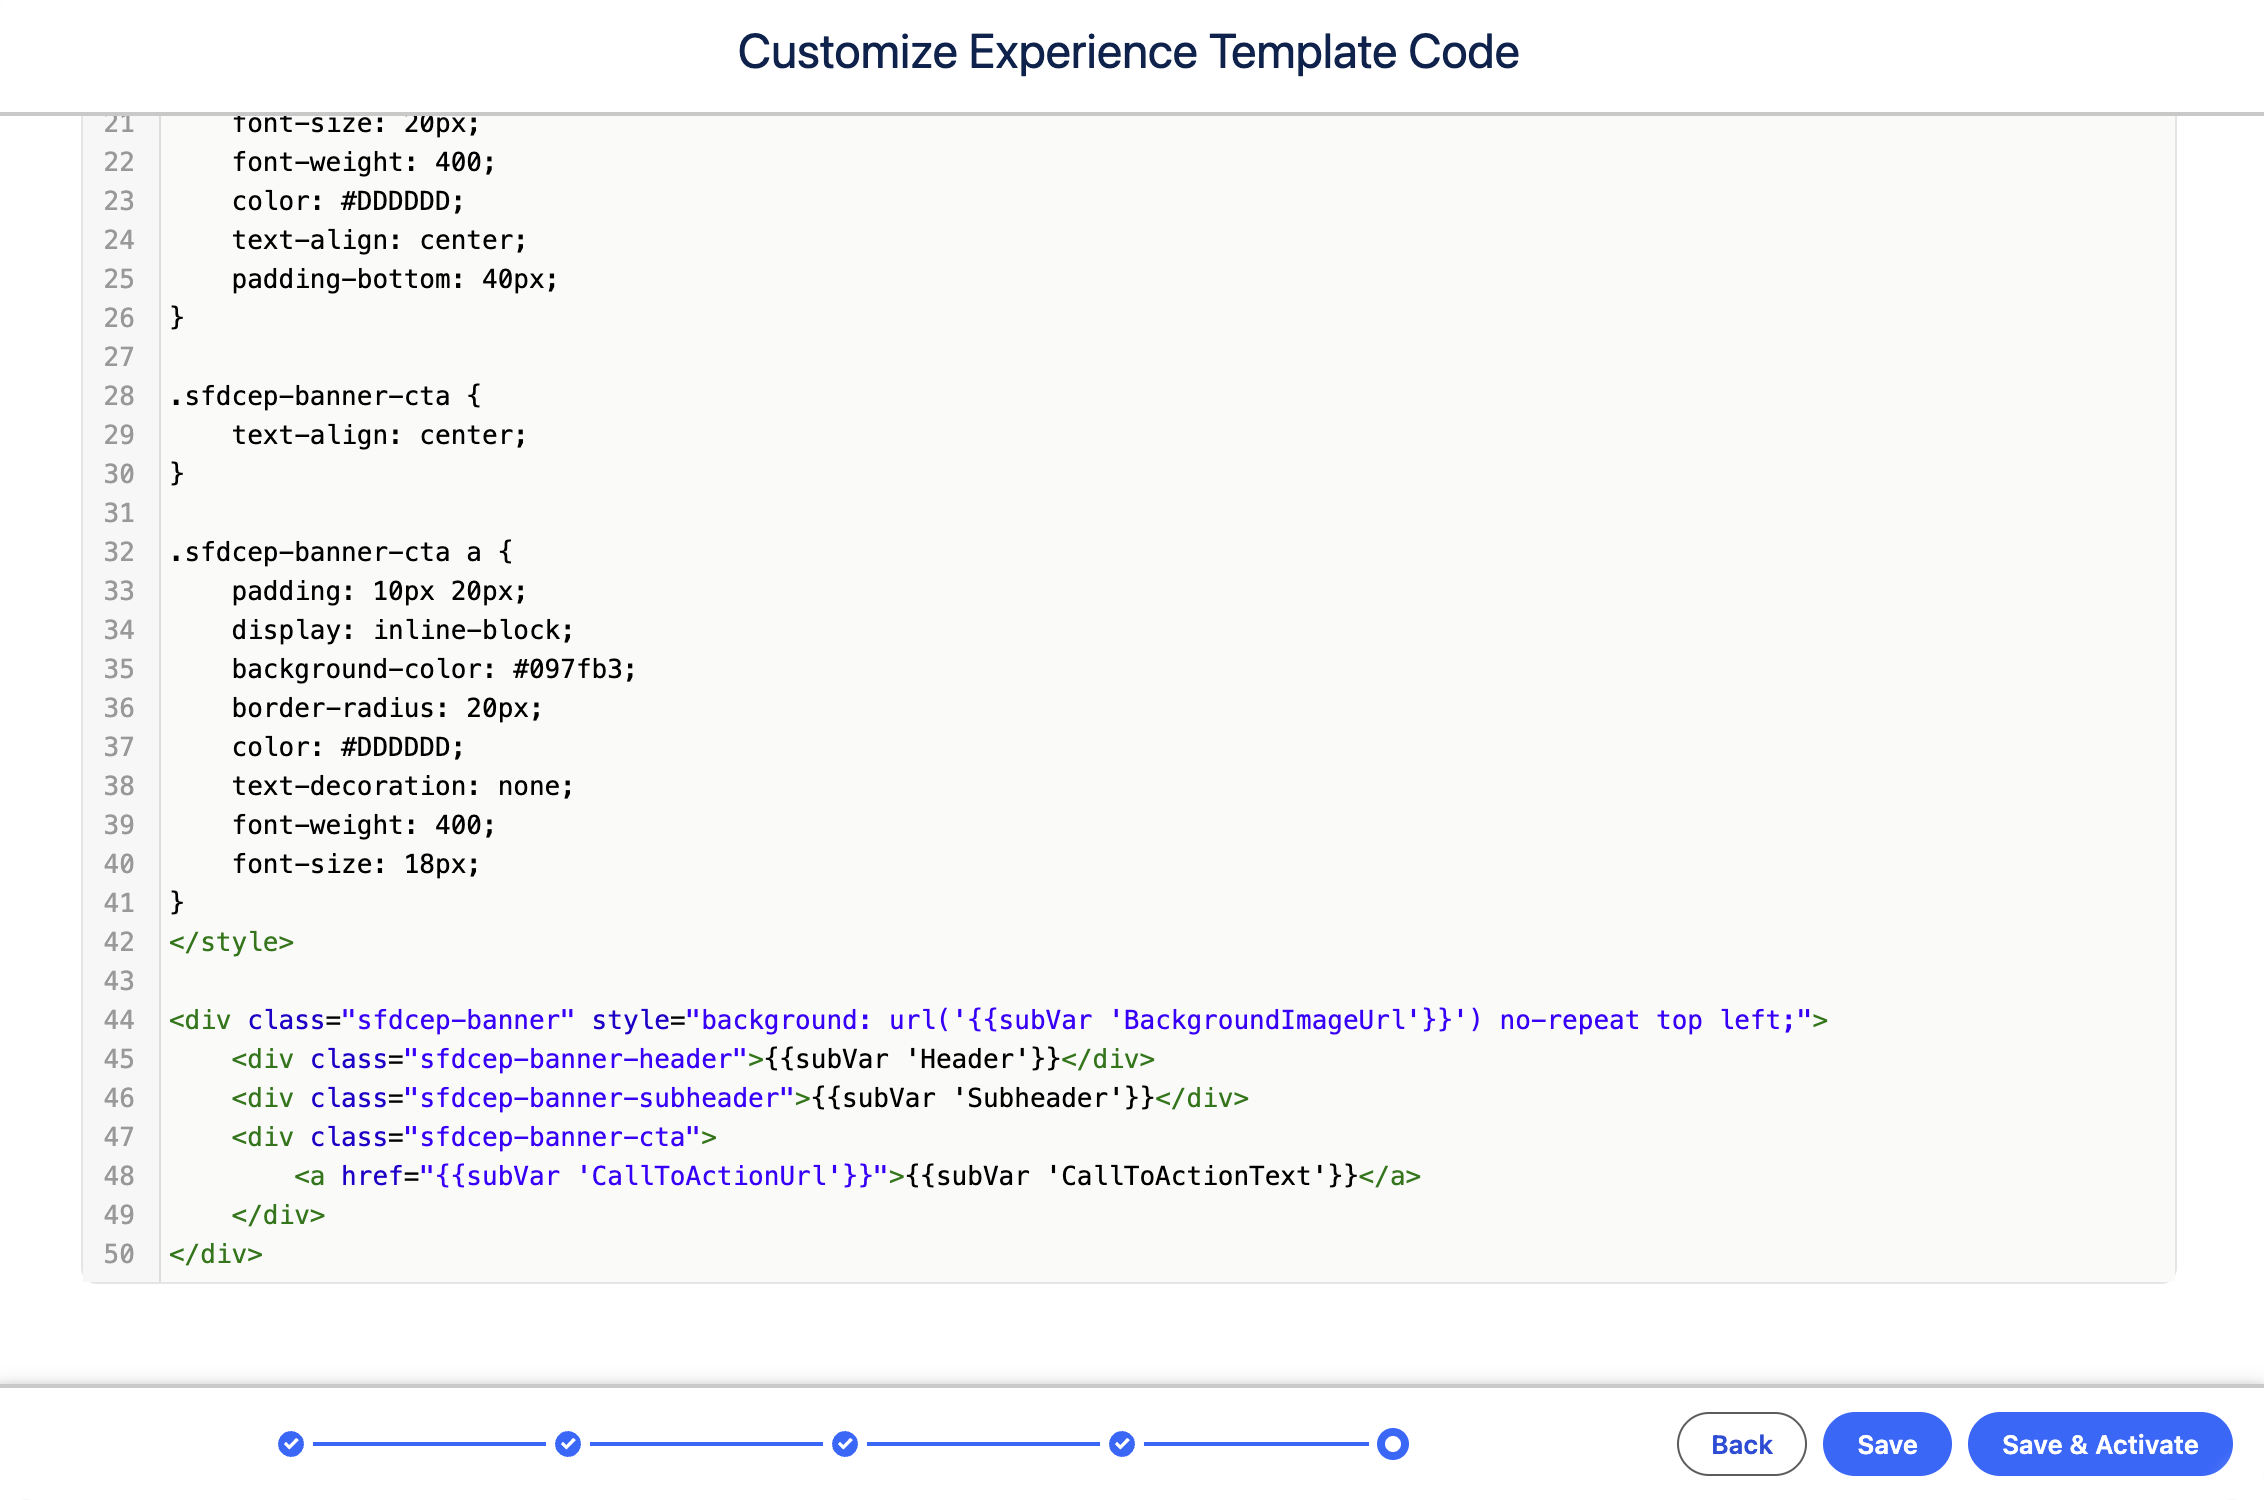
</style>- Replace the existing style element (on lines 1–42) in the template code editor with the code you just copied.
Customize Experience Template Code
In this final step, you define the HTML and CSS that control how the decision is rendered on the website. In a custom template scenario, you would create your own styles and use the variable menu to specify where values from the decision response should appear in the template. Since you selected a global template, the required Handlebars expressions are already included in the HTML.
- Click Save & Activate. The template is now available for selection in the Web Personalization Manager when applying a personalization point to your website.
Create a Product Recommendations Web Experience Template
To ensure you also have a template available to render the recommendations personalization point, you’ll create an additional experience template as part of this workshop. This template will be used specifically to control how recommendation content is displayed on the page.
- Click New from the Experience Templates page.
- Select default from the Data Space menu.
- Select Web from the Channel menu.
- Enter
Product Recsin the Experience Template Name field. - Click Next.
- Choose the Training Site website connector from the Connected Websites list, then click Next.
- Select Handlebars from the Experience Template Type for Web menu.
- Select Global Template from the Content Source menu.
- Select Simple Recommendations from the Global Template menu, then click Next.
- Select Recs with Header from the Default Response Template menu.
- Using the existing variable labels, select the following default values:
- image: Goods Product > Image URL
- price: Goods Product > Price
- name: Goods Product > Product Name
- url: Goods Product > Product URL
- Click Next.
- Click Save & Activate (no changes are required to the HTML template).
Web Personalization Manager
Both templates are now available in the Web Personalization Manager and can be selected when applying personalization points to your website. Follow the exercises in the Personalization Experiences workshop to learn how to use the Web Personalization Manager to configure and preview your experiences.